Guide to connecting the tLab server to the Customer's network infrastructure
Created by: Kim Konstantin, Chief Technical Officer
tLab Technologies, 2024
Astana 2024
Requirements for an engineer:
- Laptop with ethernet port
- UTP cable
Customer Requirements:
- Rack space for server, power supply, UTP cable
- Dedicated IP. Network mask and gateway.
Steps:
- Log on to the tLab client in the home infrastructure. In the client: MANAGE - SETTINGS - SYSTEM
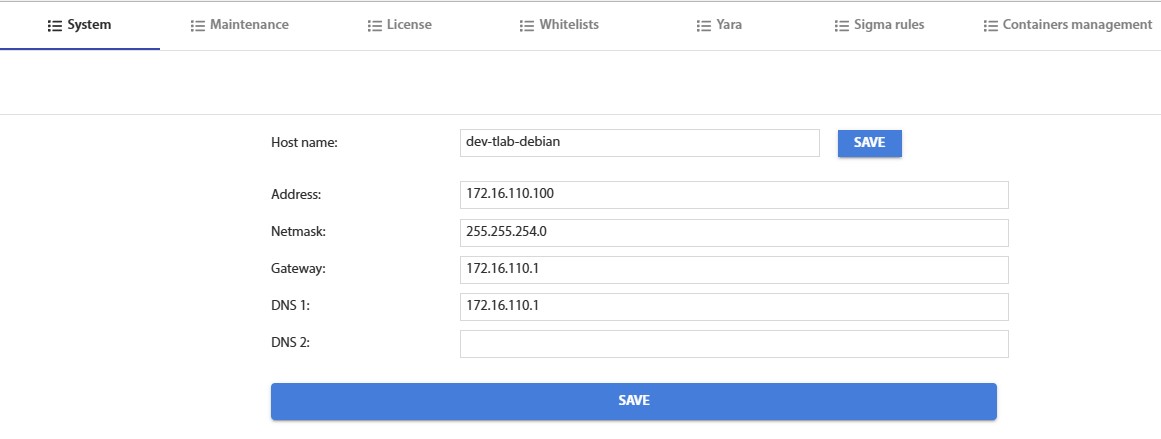
Fig. 1 - tLab home settings - Record these settings.
- Memorise the port where the network service UTP cable (hereinafter referred to as Port1) is inserted. (not Internet)
- Go to the customer's premises. Install the server in the rack space.
- Connect the laptop to the server on Port1.
- Set up the Ethernet IPv4 network settings on a laptop (Windows as an example)
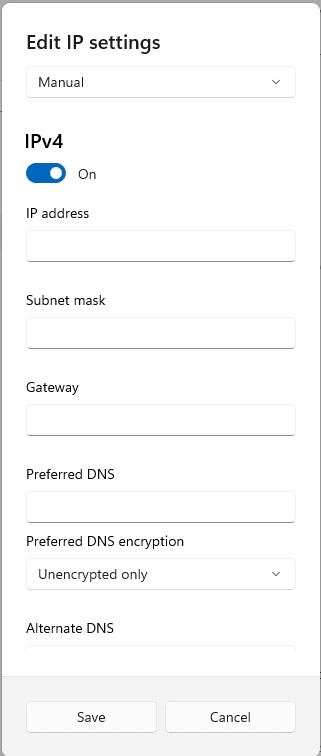
Fig. 2 - network settings in Windows IPv4 - Enter the network settings shown in Figure 1, except for the address.
Enter the neighbouring address (if 35, here 34). - Go to tLab's address
- Enter new network settings (issued by the Customer's engineer) in the path specified in Step 1.
- Save
- Go to the "MAINTENANCE" tab. Press the "REBOOT" button.
- Repeat steps 6, 7, 8 with new network settings to verify.
- Leave the server room. Use the engineer's computer to check access to tLab on the network.